
How to Create a Mood Board: A Practical Walkthrough for Designers
A mood board is the visual heartbeat of any creative project. Before a single logo is drawn or a magazine spread is laid out, designers gather colors, textures, typography, and imagery into one cohesive frame to communicate the feeling behind an idea. If you have ever wondered how to create a mood board that actually guides your design decisions (and not just looks pretty on Pinterest), this guide walks you through the exact process we use at Atan AI Plus for branding and editorial projects.
Whether you are working on a logo, a website, an interior space, or a magazine cover, the workflow below will help you go from a blank canvas to a focused visual reference your client or team can rally behind.
What Is a Mood Board and Why Does It Matter?
A mood board is a curated collection of visuals that captures the tone, style, and emotion of a creative direction. It is not a final design, and it is not a Pinterest dump. It is a strategic tool that:
- Aligns the client and designer on a visual direction before production starts
- Reduces revision rounds and miscommunication
- Acts as a north star throughout the project
- Helps you justify creative choices with visual evidence
The 5 Essential Elements of a Strong Mood Board
Before opening any tool, know what you are looking for. A well-built mood board typically includes these five components:
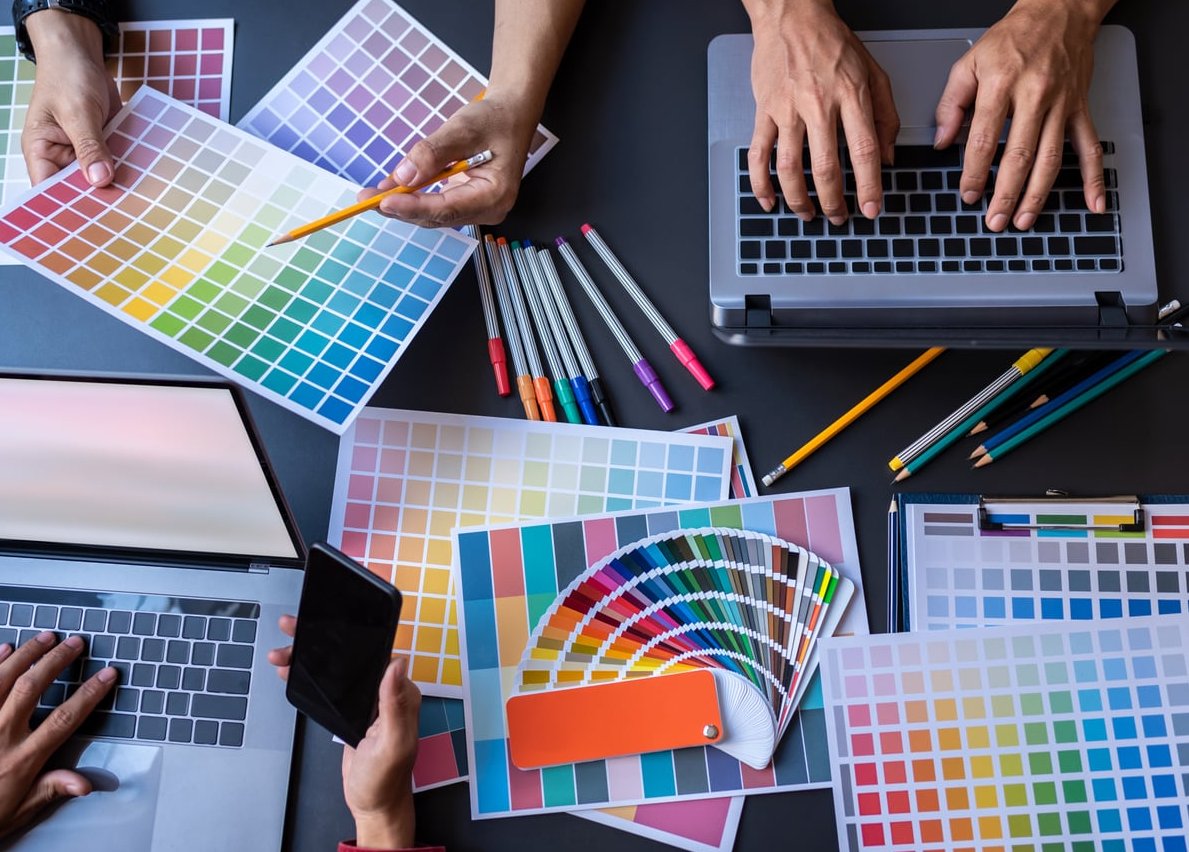
- Color palette (3 to 6 dominant colors)
- Typography samples (display and body type references)
- Imagery (photography style, subject matter, lighting)
- Textures and patterns (paper, fabric, grain, gradients)
- Keywords (3 to 5 adjectives describing the mood)
How to Create a Mood Board: Step-by-Step Process
Step 1: Start With the Creative Brief
Every great mood board begins with a clear brief. Read it twice, then extract:
- The brand or project values
- The target audience
- The emotion the project should evoke
- Any non-negotiables (existing brand colors, competitor avoidances, etc.)
Example: For a recent branding project for a Prague-based artisan coffee roaster, the brief used the words “earthy, slow, considered, Nordic minimalism.” Those four keywords drove every visual choice that followed.
Step 2: Define Keywords Before Searching for Images
This is the step beginners skip, and it is the most important one. Write down 5 to 7 keywords that describe the project. These become your search anchors and prevent you from drifting into pretty-but-irrelevant imagery.
For an editorial project about urban gardening, our keywords were: raw, hand-pressed, botanical, soft daylight, off-white, sans-serif, grid.
Step 3: Gather Inspiration From the Right Sources
Do not limit yourself to one platform. The best mood boards pull from a mix of curated and unexpected places.
| Source | Best For | Watch Out For |
|---|---|---|
| Broad visual exploration | Algorithmic sameness | |
| Behance & Dribbble | Professional design work | Can feel trend-driven |
| Are.na | Curated, deep references | Smaller image library |
| Unsplash / Pexels | High-quality photography | Overused stock images |
| Print magazines & books | Unique, tactile references | Requires scanning |
| Real-world photos | Authentic textures, light | Time-intensive |
Step 4: Choose the Right Tool
There is no single “best” mood board tool. Pick based on how you work and who you collaborate with.
- Canva: Ideal for beginners. Templates, drag-and-drop, easy client sharing.
- Milanote: Excellent for organizing visuals alongside notes and links. A favorite for branding projects.
- Adobe Firefly Boards: Great if you are already in the Adobe ecosystem and want AI-assisted brainstorming.
- Figma or FigJam: Perfect for collaborative, real-time team boards.
- Pinterest: Best as an early-stage collection bucket, not a final presentation.
- Adobe Illustrator or InDesign: When you need a polished, client-ready document.
For client-facing work, we typically gather in Milanote or Pinterest, then build the final presentation in Figma or InDesign.
Step 5: Curate Ruthlessly
Most beginners collect 50+ images and dump them all on one board. Don’t. After gathering, follow this filtering rule:
- Start with 40 to 50 references
- Cut to 20 by removing duplicates and weak references
- Cut to 9 to 12 final images that genuinely tell the story
If an image does not match your keywords from Step 2, it goes.
Step 6: Organize Your Layout
A mood board’s layout communicates almost as much as its content. Two layout approaches work well:
- The Grid: Evenly spaced, bordered images, often with a title and keywords. Clean, professional, easy to read. Best for client presentations.
- The Collage: Overlapping, varied sizes, more emotional. Best for early-stage internal exploration.
Whatever you choose, group similar elements together: colors in one area, typography in another, imagery in a third. This makes the board scannable.
Step 7: Add Context
A mood board without words is open to interpretation. Always add:
- A title (project name and direction)
- 3 to 5 mood keywords
- A short paragraph (2 to 3 sentences) explaining the direction
- The extracted color palette as swatches
Step 8: Present and Iterate
Walk your client or team through the board. Explain why each element is there. Then be ready to adjust. A mood board is a conversation starter, not a final verdict.
Real Example: Branding Mood Board Breakdown
For the coffee roaster project mentioned earlier, the final mood board contained:
- 3 photographs of hand-poured coffee in natural light
- 2 typography samples: a humanist serif and a geometric sans
- 1 texture image: unbleached kraft paper
- 1 packaging reference from a Scandinavian brand
- A color palette of warm beige, deep espresso, off-white, and forest green
- Keywords: earthy, slow, considered, honest
Total: 7 images, 1 palette, 4 keywords. That was enough to drive the entire identity system.
Real Example: Editorial Mood Board Breakdown
For a magazine feature on minimalist architecture, the board emphasized:
- High-contrast black-and-white photography
- Generous whitespace examples from existing layouts
- A single accent color (terracotta) used sparingly
- Two display fonts and one body font
- Keywords: quiet, structural, intentional, monolithic
Common Mistakes to Avoid
- Too many images: Quality over quantity. Always.
- Inconsistent style: If half your board is maximalist and half is minimalist, the direction is unclear.
- Ignoring the brief: Pretty references that don’t serve the project are wasted space.
- Skipping color and typography: Imagery alone is not enough.
- No explanation: Always provide context for non-designers.
FAQ
How do I create my own mood board?
Start with a clear brief, define 5 to 7 keywords, gather references from multiple sources (Pinterest, Behance, Are.na, real life), then curate down to 9 to 12 final images. Organize them in a grid or collage using a tool like Canva, Milanote, or Figma, and add a title, keywords, and color palette.
What 5 elements must you include on a mood board?
A complete mood board contains a color palette, typography samples, imagery, textures or patterns, and descriptive keywords.
Is there an app for making mood boards?
Yes. Popular options include Canva, Milanote, Adobe Firefly Boards, Figma, and Pinterest. Each has different strengths depending on whether you need collaboration, polish, or quick exploration.
What is the best format for a mood board?
Most designers present mood boards as a single landscape PDF or image (16:9 or A4 landscape) for client presentations. For internal exploration, an infinite canvas tool like Milanote or FigJam works better.
How long should it take to create a mood board?
For a focused branding or editorial project, expect to spend 2 to 4 hours on research, 1 hour on curation, and 1 to 2 hours on layout and presentation. Avoid spending days on this stage. The goal is direction, not perfection.
Can I create a mood board for free?
Absolutely. Canva, Milanote (free tier), Pinterest, and Figma all offer free plans that are more than enough to build professional mood boards.
Final Thoughts
Learning how to create a mood board is less about mastering a tool and more about developing a clear creative eye. The process forces you to slow down, ask better questions, and translate abstract ideas into something tangible. Start small, keep your boards focused, and treat every project as practice. Over time, your mood boards will become not just a deliverable, but your most reliable creative compass.
0 Comments